Home renovations require time (and money), and there are a few things to keep in mind. Establish a specific timeline and maximum budget for your home improvement to guarantee it runs smoothly. The safest approach is to hire someone to plan, design, and budget the job for you, but it may be expensive, and we’re all about budgeting intelligently. You’ll be well prepared for your project if you follow our home remodeling guideline and timeline example.
Average Timeline
Before jumping into your home remodel—whether you’re doing some of the work yourself or hiring a contractor to handle it all—familiarize yourself with the remodeling process and what goes into it.
On average, a complete home remodeling project takes 3-6 months to complete, but this all depends on the overall size and complexity of the project, as well as who you hire to do the work and the amount of work you choose to do yourself. A good rule of thumb: For every $10,000 spent, expect it to take 1-2 weeks to complete the work. However, before doing any work, there is planning to be done, contractors to hire, permits to be pulled, etc.—all of which takes time.
Common Total Home Remodel Timeline:
- Planning: 1 month
- Demolition: 2 weeks
- HVAC, Electrical & Plumbing: 5 days
- Framing & Drywall: 10 days
- Painting: 1 week
- Cabinets & Fixtures: 1 week
- Doors & Windows: 5 days
- Clean House & Air Vents: 1 day
- Flooring: 1 week
- Trim and Finish Work: 1 week
Once all is said and done, this project took roughly 3 months to complete.
Next, take a closer look at each individual step of the process.
With a thorough understanding of the home remodeling process, you can tackle each step one at a time to minimize stress and make the process straightforward.
Step 1: Planning
Establish a budget.
The most crucial component of the planning process is ensuring that you have enough money to pay for the project, no matter how large or small the scope of work is.
Make a list of the maximum amount you are willing to spend and make it a point not to go over it.
The many prices that go into a house redesign can be much more than you expect, so establish a spreadsheet with a running list of all your must-have and want-to-have goods. Then, conduct some short research to establish average costs for those things, and add everything up to get a better estimate of how much it would cost. Estimating the cost of labor is the most difficult component of budgeting. However, it’s generally a good idea to budget for labor to account for 20-40% of your total budget.
Decide when to DIY.
Because there are so many factors to a home remodel, there may be some aspects of the job that you are willing and able to tackle yourself, which could save you some money.
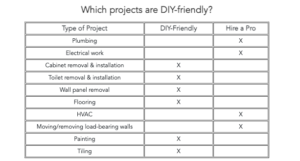
So, the second step of home remodels planning involves making a simple list of the work you want to be done and deciding whether or not it’s something you can do yourself. If it’s something you can do, a label that task “DIY.” If it’s not something you can do—and be honest with yourself—then label that task “
PRO.” The chart below is a general guideline for projects that are DIY-able, and those that are best left to a professional.
Find Trusted Contractors
Once you’ve determined what job you’ll need a pro to do, you may research which contractor is the best fit for you.
The perfect contractor will…
Have prior experience doing the work you’re hiring them to undertake.
Be licensed and insured to perform the work. Obtain all relevant licenses for you.
The Contractors Booklist helps you find the right contractor for your remodeling job. Find out here How It Works and how easy is it for you to find the right contractor for you.
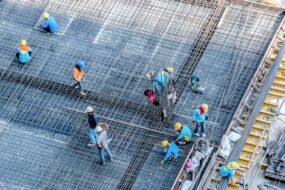
Step 2: Demolition
When you’ve finalized your plan and hired your contractor, it’s time to begin demolition.
To create a place for the new, the old must first be demolished. This will certainly necessitate the rental of a huge roll-off dumpster to handle the rubbish, as well as destruction.
Because you can remove waste from your property as it is demolished, a dumpster is great for keeping a job moving quickly. This will reduce the hazards and clutter associated with your demolition operation, allowing you to complete it as quickly, safely, and smoothly as possible. If you decide to conduct any demolition work yourself, use extreme caution and stick to all safety regulations.
Demolition can be extremely hazardous, especially when done hastily.
Step 3: HVAC, Electrical, and Plumbing
When your demolition work is finished, the “rough-in” procedure can begin. This includes any work performed beneath floors or behind walls, such as the installation of ducting for central heating and air conditioning, the installation of new electrical and plumbing systems, and so on. This is when plumbing and electrical inspectors will need to come to your home and make sure your systems are up to date. Because re-wiring and plumbing will almost certainly be required, complete all rough-in work before flooring, drywall, and painting, as it may be damaged in the process. Keep a schematic of your redesign ideas on hand, especially for rooms that require electrical and plumbing work, so that plumbers and electricians can correctly address your demands.
What location do you want your refrigerator to be?
How about the lighting?
Where should the outlets be located, and how many should there be?
All of these factors should be considered and discussed with your contractor.
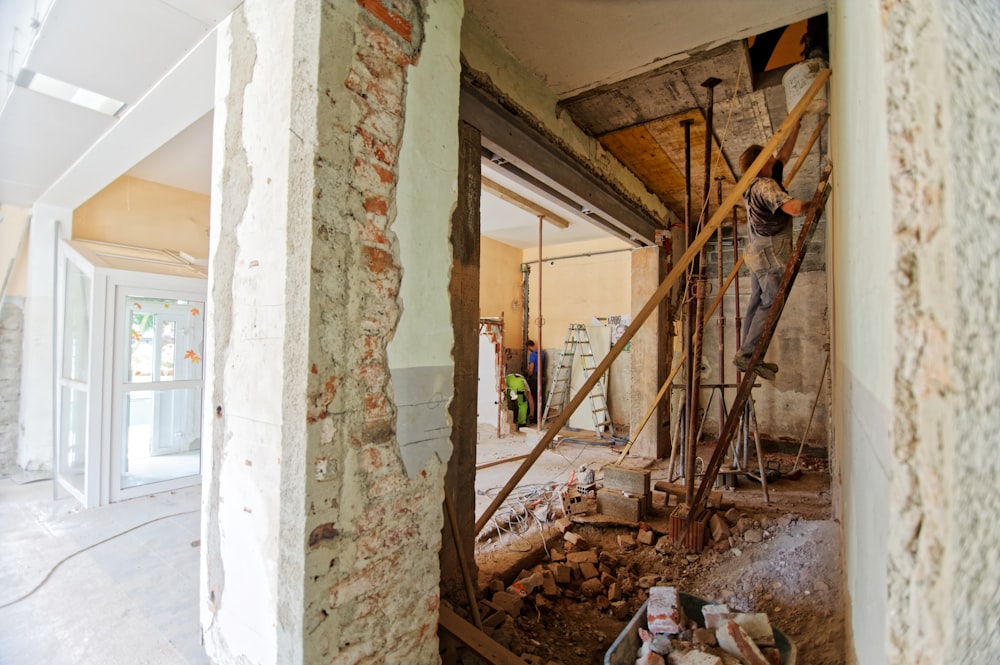
Step 4: Framing and Drywall
Once all the plumbing, electrical, and HVAC updates are addressed and signed off on, it’s time to tackle framing and drywall.
The drywall process involves hanging sheets of drywall, applying drywall compound, letting the compound dry, and sanding it smoothly until a seamless surface is achieved.
Typically, the same contractor can handle the following (and more!):
- Moving and constructing walls
- Adding support beams
- Window and door openings
Step 5: Painting
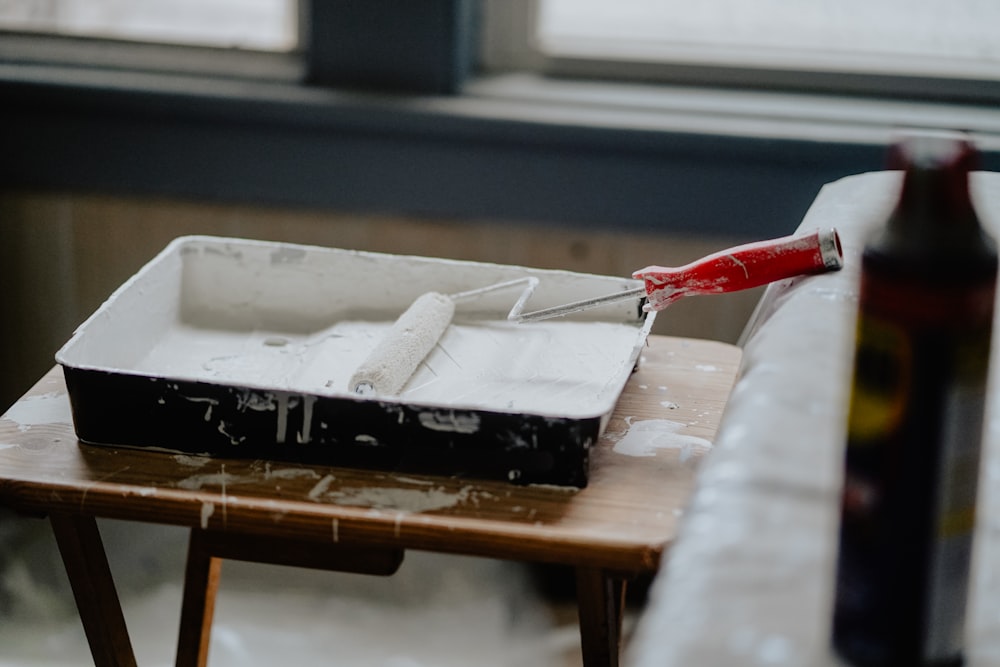
Once the drywall is smooth, it’s time to paint your newly blank canvas! Painting is something you can do yourself, but it can also be backbreaking work. In addition, if you want to achieve a clean, flawless paint job without stress, you’ll want to hire a pro.
Keep in mind that sanding hardwood floors after painting leaves your walls at risk of being scuffed by the sander. However, if you lay hardwood floors before painting, you could risk getting paint on your new floors. Whichever route you take, use caution.
Step 6: Cabinets & Fixtures
With your newly painted walls, the rest of the space can start to come together. Cabinetry, lighting, bathtubs, showers, toilets, sinks—have these installed next.
Step 7: Doors & Windows
Next, it’s time to install windows and hang doors. Before installing any carpet, be sure all doors are installed to ensure they can open and close freely. If you’re installing laminate floors, they can wait until after the doors have been hung.
Step 8: Clean House & Air Vents
If you get a dumpster, the main pieces of debris should already be out of the way. Now, sweep or vacuum up any remaining debris and grime. All that renovation dust gets everywhere, so have a professional come to clean out your air vents and furnace.
Step 9: Flooring
Generally speaking, it’s best to hold off on flooring installation until the end of the remodeling process, so they don’t sustain any scrapes, nicks, or damages. Carpeting, laminate, tile, and any remaining flooring should be the next step of the remodeling process.
Step 10: Trim & Finish Work
Once the flooring is installed, it’s time to nail up trim and finishes, door frames, and baseboards.

Congratulations! You did it
Now, it’s time to move in furniture, decor, appliances, and all the stuff that helps make your house a home. Use carts and drop cloths to avoid damaging your newly remodeled home as you bring items inside. Then, kick your feet up and enjoy your new space!

Cabinets & Fixtures
Demolition
Doors & Windows
Electrical
Flooring
hire a pro
home remodeling
house remodel
HVAC
Plumbing
remodeling
remodeling plan